How To Manage the Temperature on A Charcoal Grill?
The key to delicious BBQ is precise temperature control. However, with charcoal grills, temperature control can be slightly tricky since there are no knobs to turn up or down the heat. You must control the heat indirectly by making several adjustments.
This causes many to be understandably intimidated by charcoal fire management. Without the right understanding of charcoal fires, it is just a frustrating experience where you are literally playing with fire. If the fire is too hot, the food will burn on the outside and remain raw on the inside, and if the temperature is too low, the meat will take forever to cook completely.
In this article, I’ll tell you all you need to know about maintaining charcoal fires at the optimum temperature. This will help you get perfect and reliable results every time. Once you have mastered the charcoal fire by implementing the advice in this article, you will find yourself becoming the de facto BBQ pitmaster at family gatherings.
Let’s get into it!
What Makes Charcoal Grill Temperature Control Tricky?
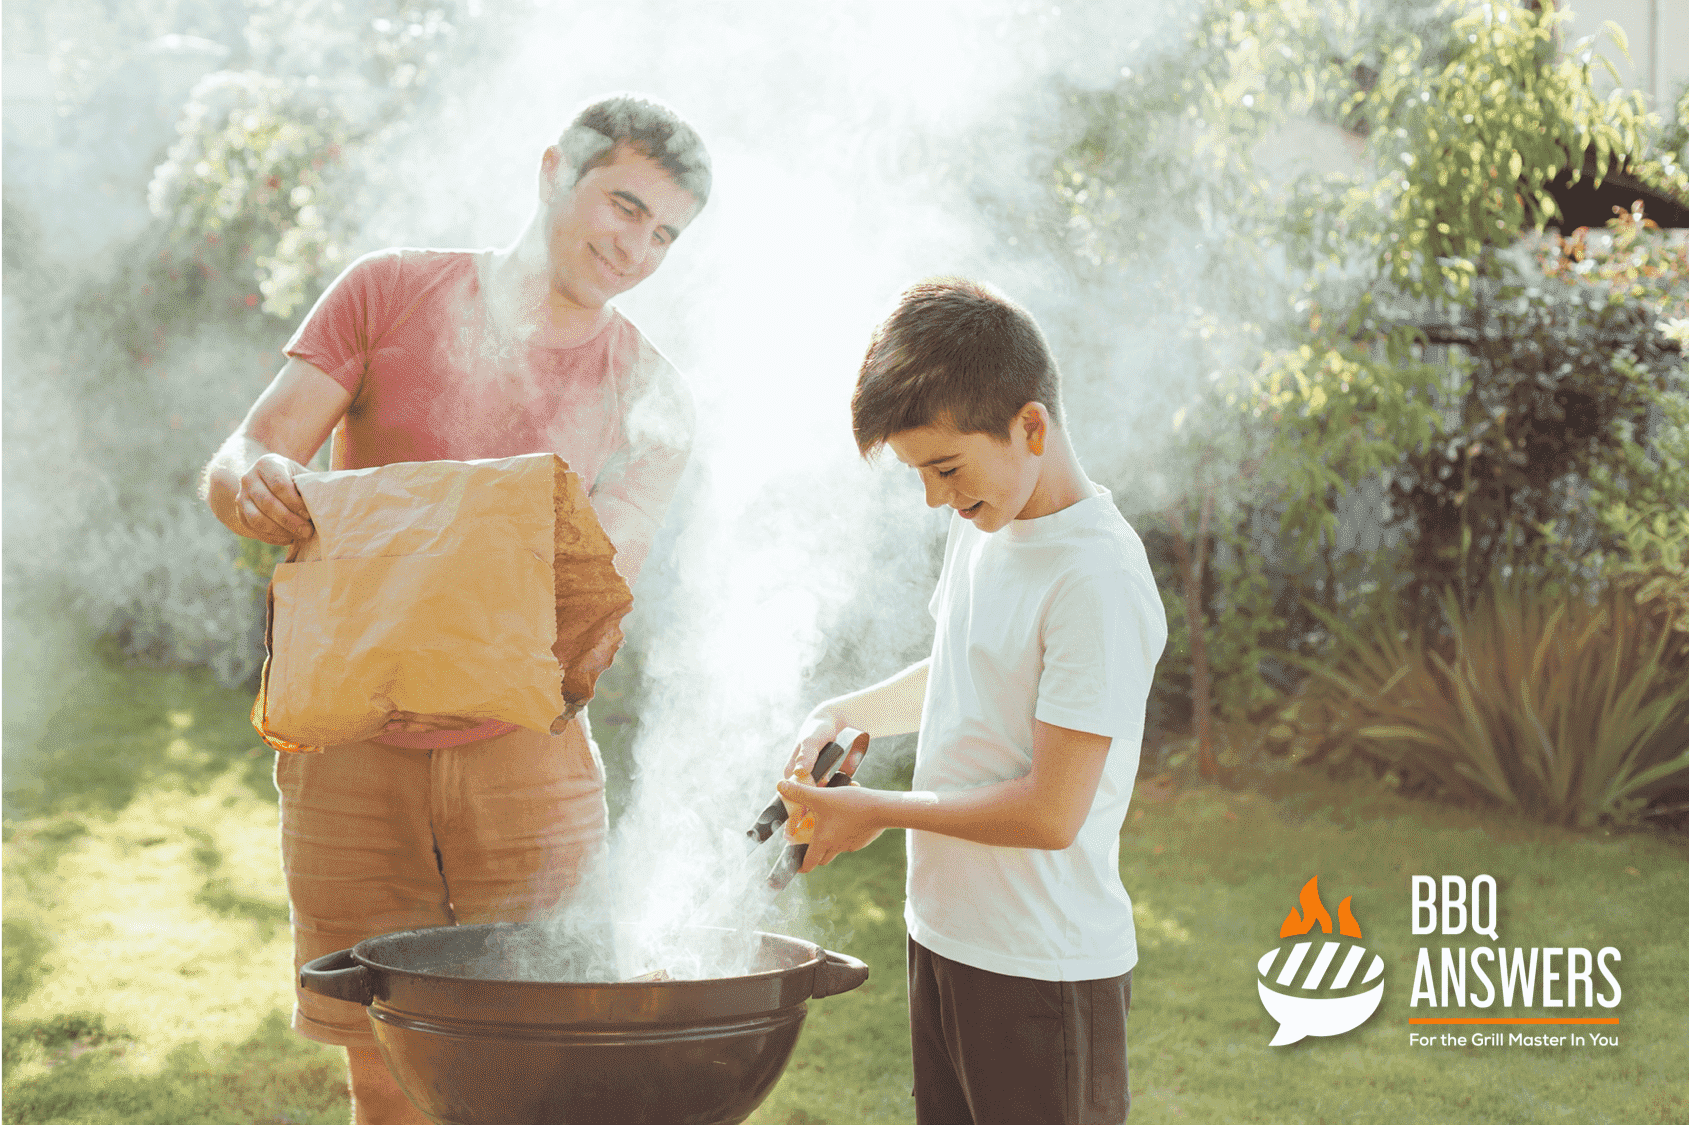
Charcoal grill temperatures are trickier to manage because they cannot be controlled directly. You have to indirectly control the temperature by adjusting the charcoal type, placement, airflow, and quantity. You also have to allow some time before the charcoal reaches the desired temperature and account for external factors.
However, once you know the basics of managing charcoal fires, it is effortless and – dare I say – fun!
How to Manage Charcoal Fire?
The best way to manage the temperature on a charcoal grill is by using the following steps:
- F– Find The Right Charcoal
- I – Ignite the Fuel
- R – Rearrange the Charcoal
- E – Establish Airflow
- S – Sustain Cooking Temperature
These steps can be summarized in the convenient acronym ‘FIRES.’
F – Find the Right Charcoal
There are two basic types of charcoal you can use – Lump Charcoal and Charcoal Briquettes. If you’re looking for a detailed comparison, read this article.
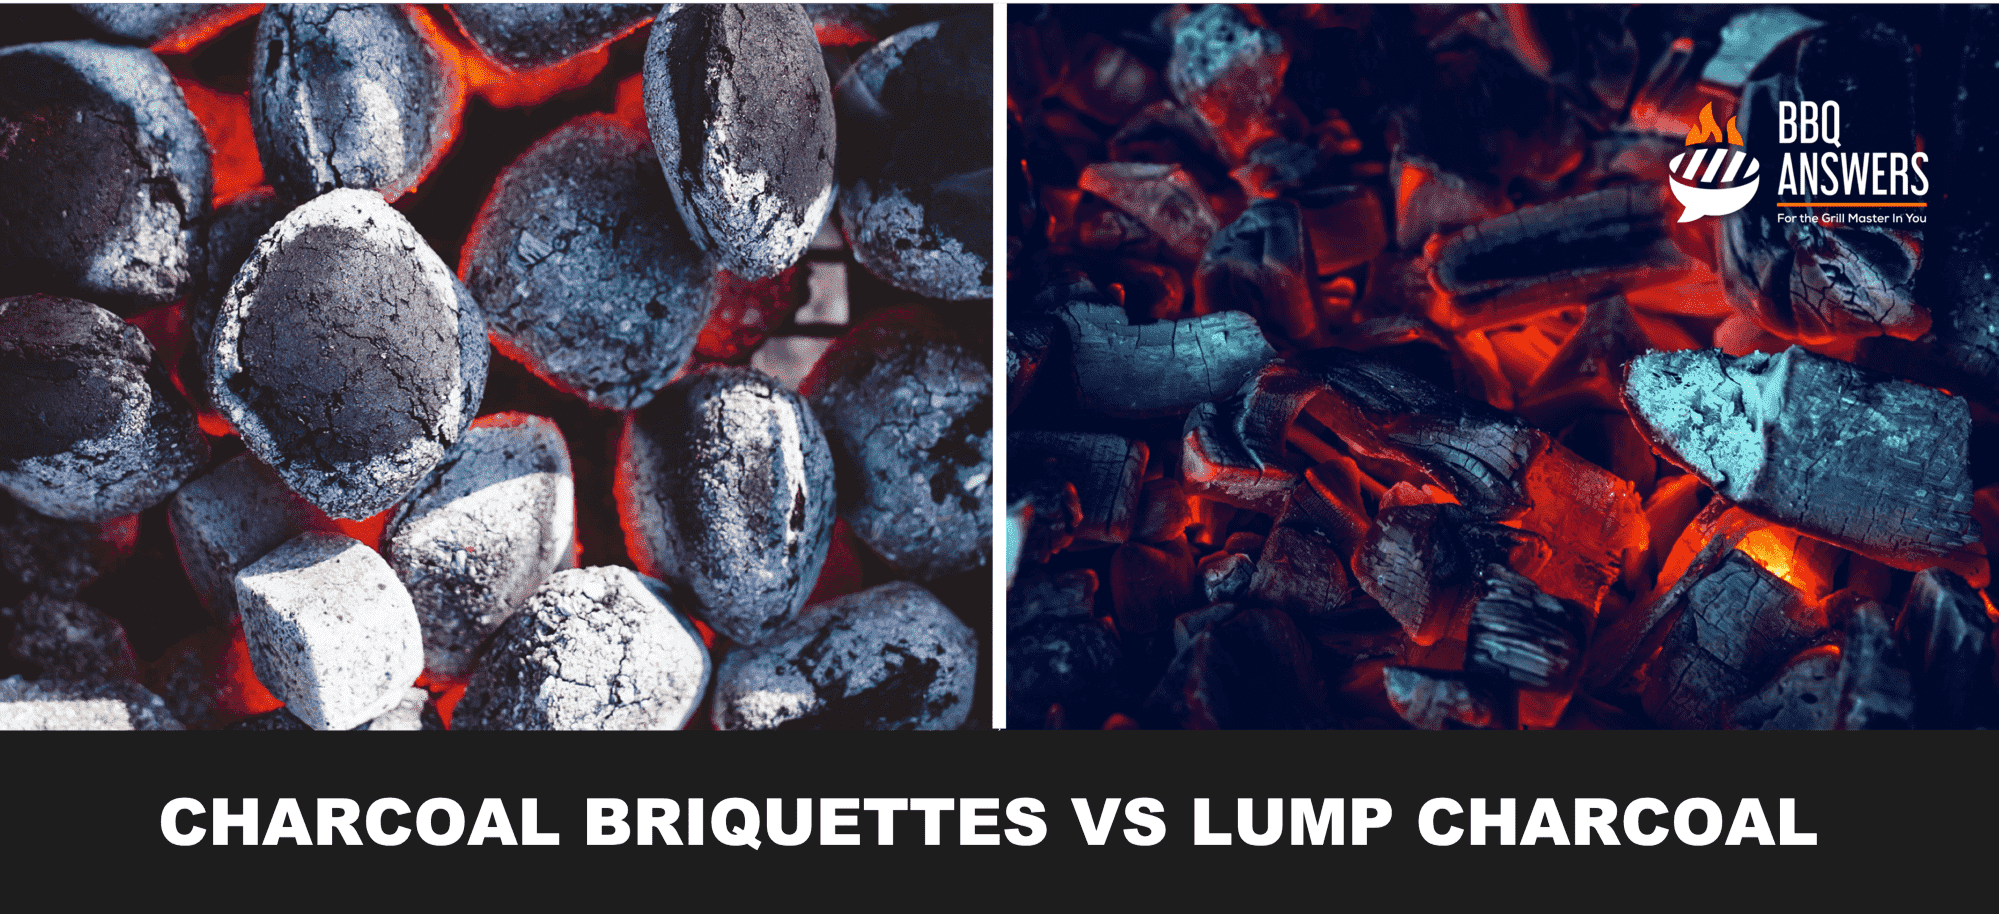
Lump Charcoal
Lump Charcoal, also called ‘Natural Lump Charcoal,’ is made from 100% pure wood. The absence of fillers and additives makes it a hot choice among the purists.
Charcoal lumps are ideal for searing since they burn hot and fast. However, lump charcoal doesn’t have a uniform size and burn rate.
When buying lump charcoal, beware that your pack is not full of tiny bits of charcoal. These small pieces can’t be used for BBQ since they will slip past the fire grate into the ash. However, every pack will have a small number of fragments that you can put to good use.
Looking for High-Quality Lump Charcoal?
Here are the best Lump Charcoal you can buy in the USA, Australia, Canada, and the UK.
Charcoal Briquettes
Charcoal Briquettes are made by combining wood byproducts with binders and other elements to form small, uniformly-shaped briquettes. They are the more popular type of charcoal used because of their low price and uniform burn rates.
They burn slowly and steadily and are great for maintaining low temperatures. However, charcoal briquettes produce a lot more ash than lump charcoal.
Looking for Natural Charoal Briquettes?
Here are the best 100% Natural Charcoal you can buy in the USA.
I – Ignite the Charcoal
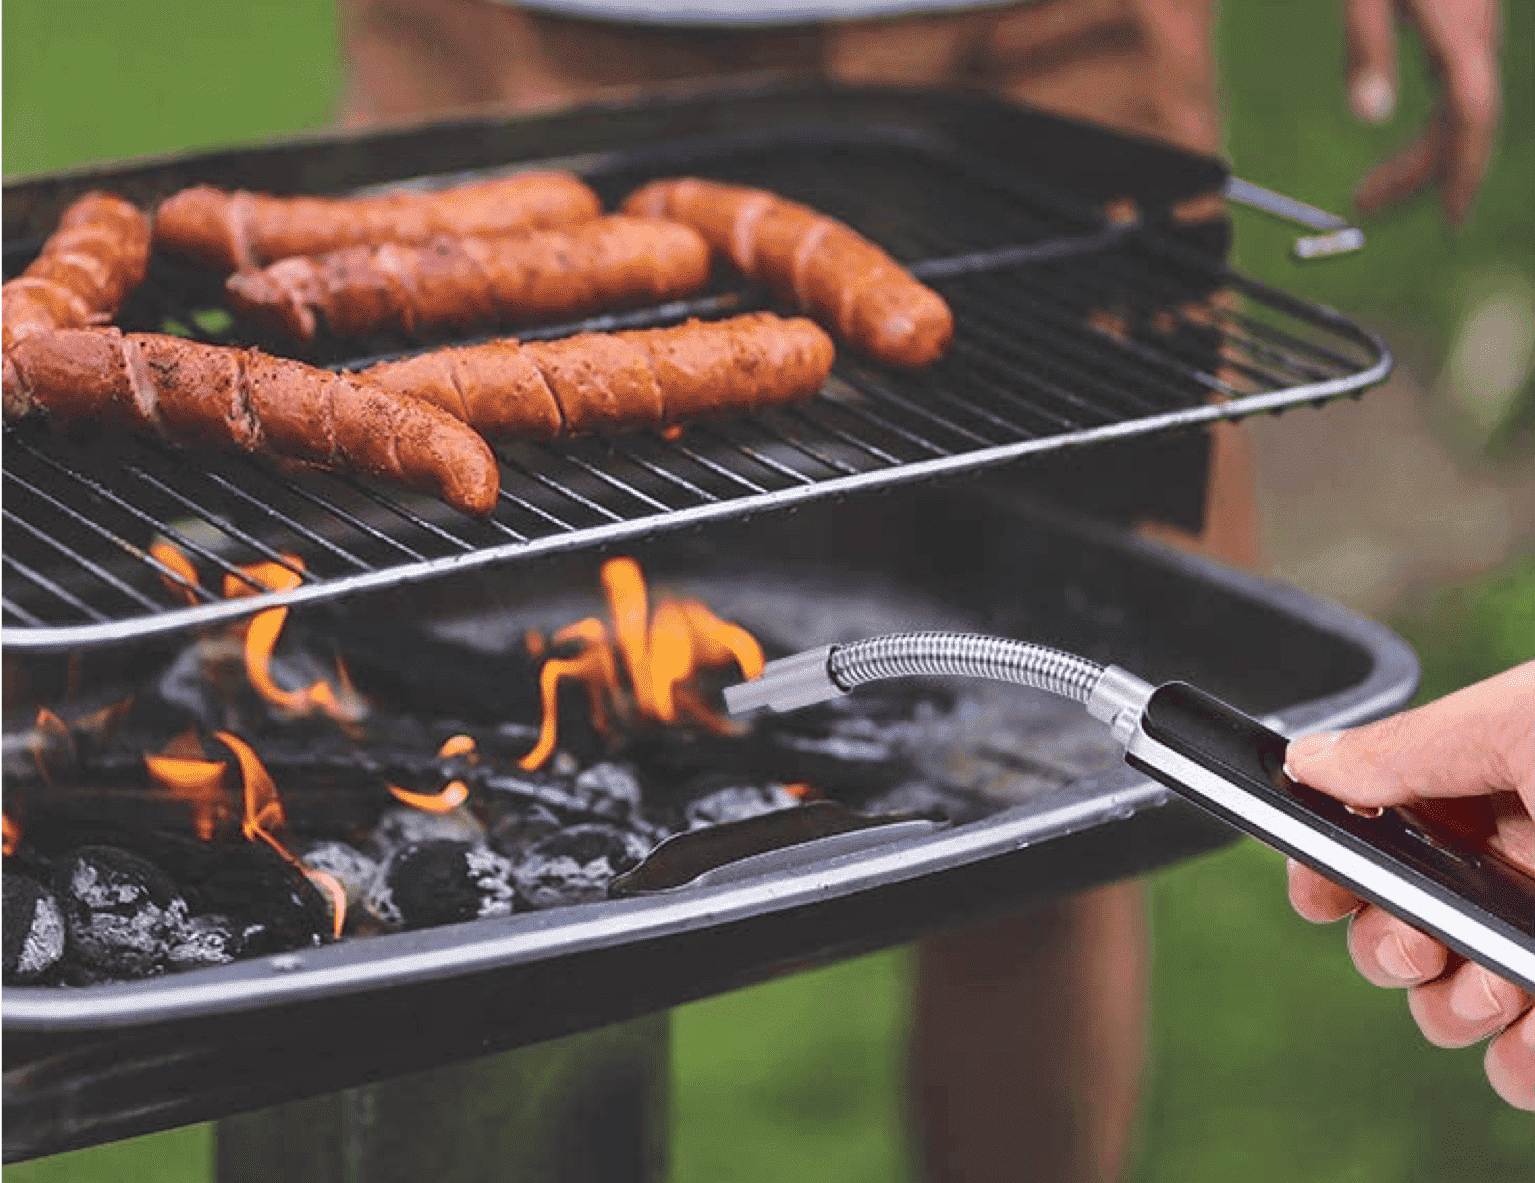
Unlike gas and electric grills, igniting a fire on a charcoal grill or smoker isn’t as straightforward as turning a few knobs. However, it isn’t rocket science either. With the right tips and a little practice, you will have a blazing fire in no time.
Charcoal needs to heat up to a high temperature (around 1100°C or 2010°F) before igniting. There are three proven ways of starting a charcoal fire:
Using a Paper Wick
This method is the most cost-effective way of lighting charcoal since it doesn’t require special tools or products. However, using a paper wick does take about 10 minutes longer than using a chimney starter.
Take a paper towel and fold it on itself. So that it forms a thick roll. Then dip one end of the towel in vegetable oil and let it absorb the oil for about a minute. Once the paper towel has soaked in the oil, position the wet side in the middle of the coal that needs to be lit, and light the dry side of the paper towel.
Once the paper towel is on fire, cover it with a few charcoal pieces so that the heat can build up inside the heap of charcoal.
Using a Chimney Starter
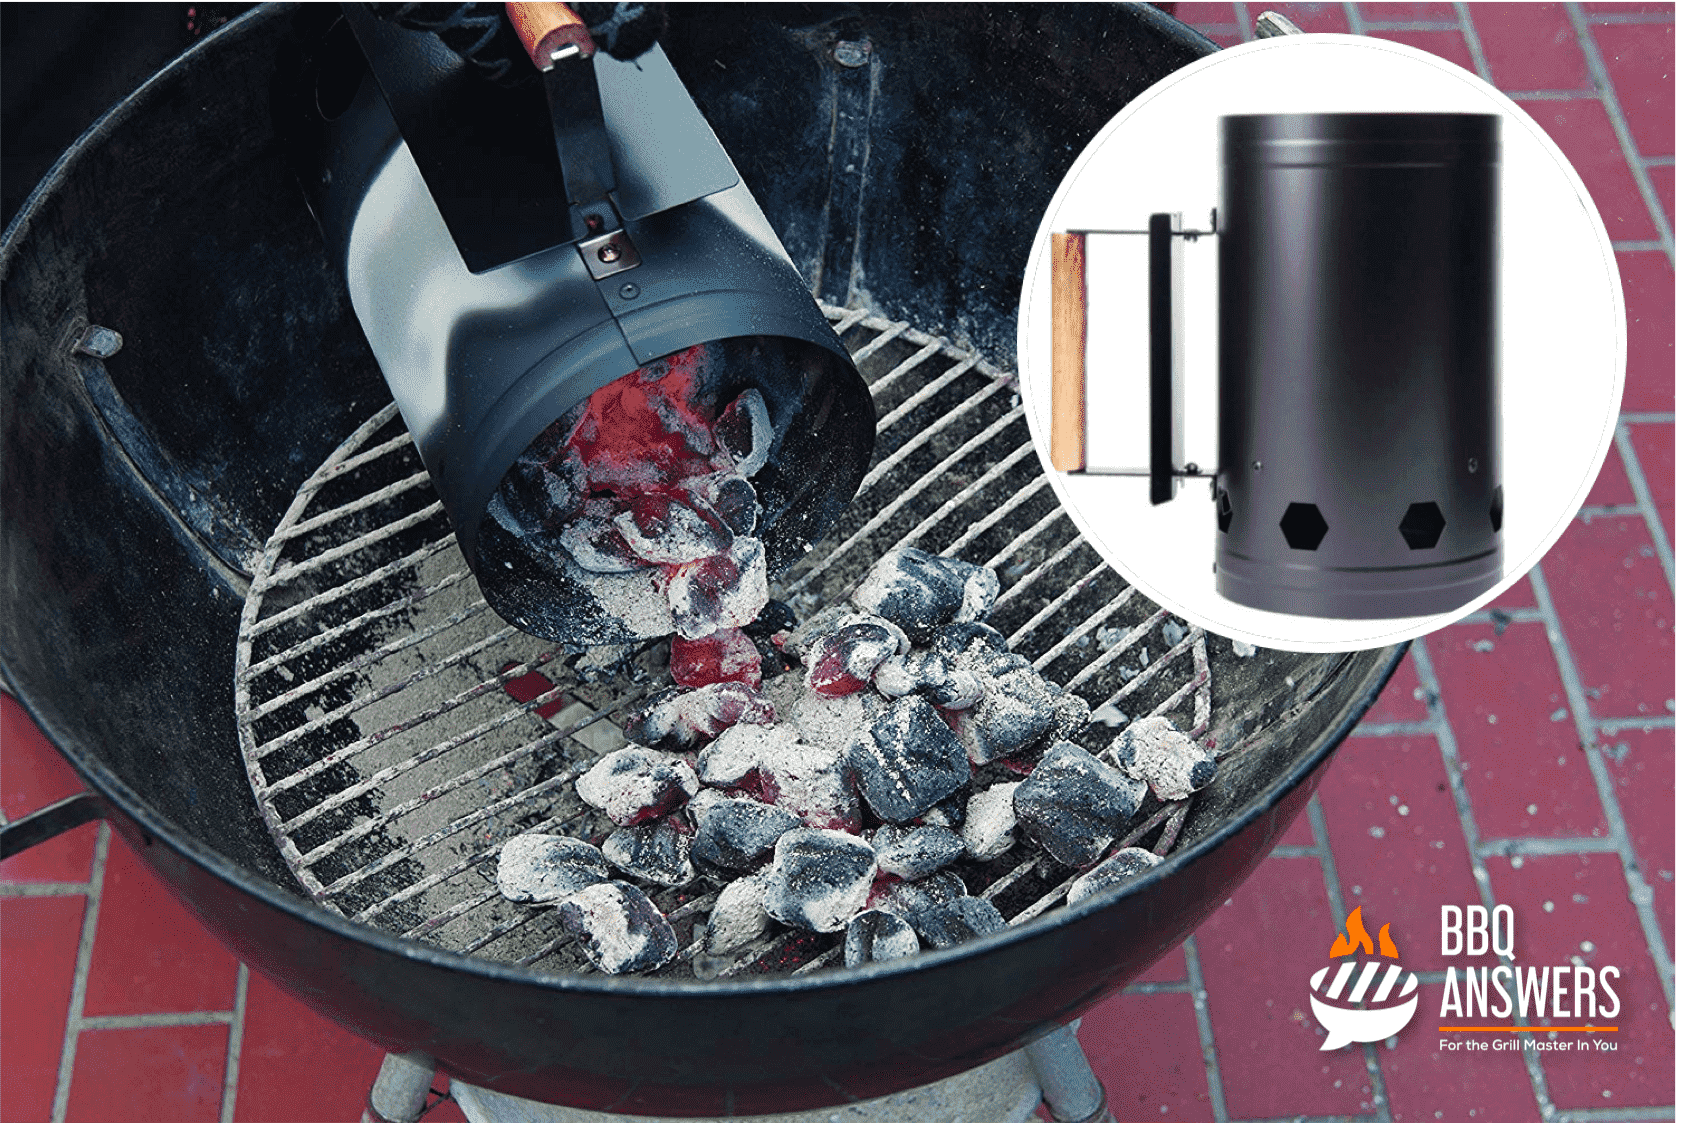
A Chimney Starter, also called a ‘Charcoal Chimney,’ is a tool for kindling charcoal lumps or briquettes. Its primary function is to allow free oxygen flow to promote combustion.
Chimney starters are made up of a metal tube with a fire grate at the bottom to retain the charcoal and an insulated handle for holding it. The tube is typically cylindrical, but may also have other cross-sectional shapes.
To use a chimney starter, simply add the charcoal in the chimney starter, and set fire to a crumpled piece of paper under it. This ignites the charcoal that is held together by the chimney starter for quick combustion.
Looking For Charcoal Chimneys and Fire Lighters?
Here are the best lighters and starters you can buy in the world.
Using Lighter Fluid
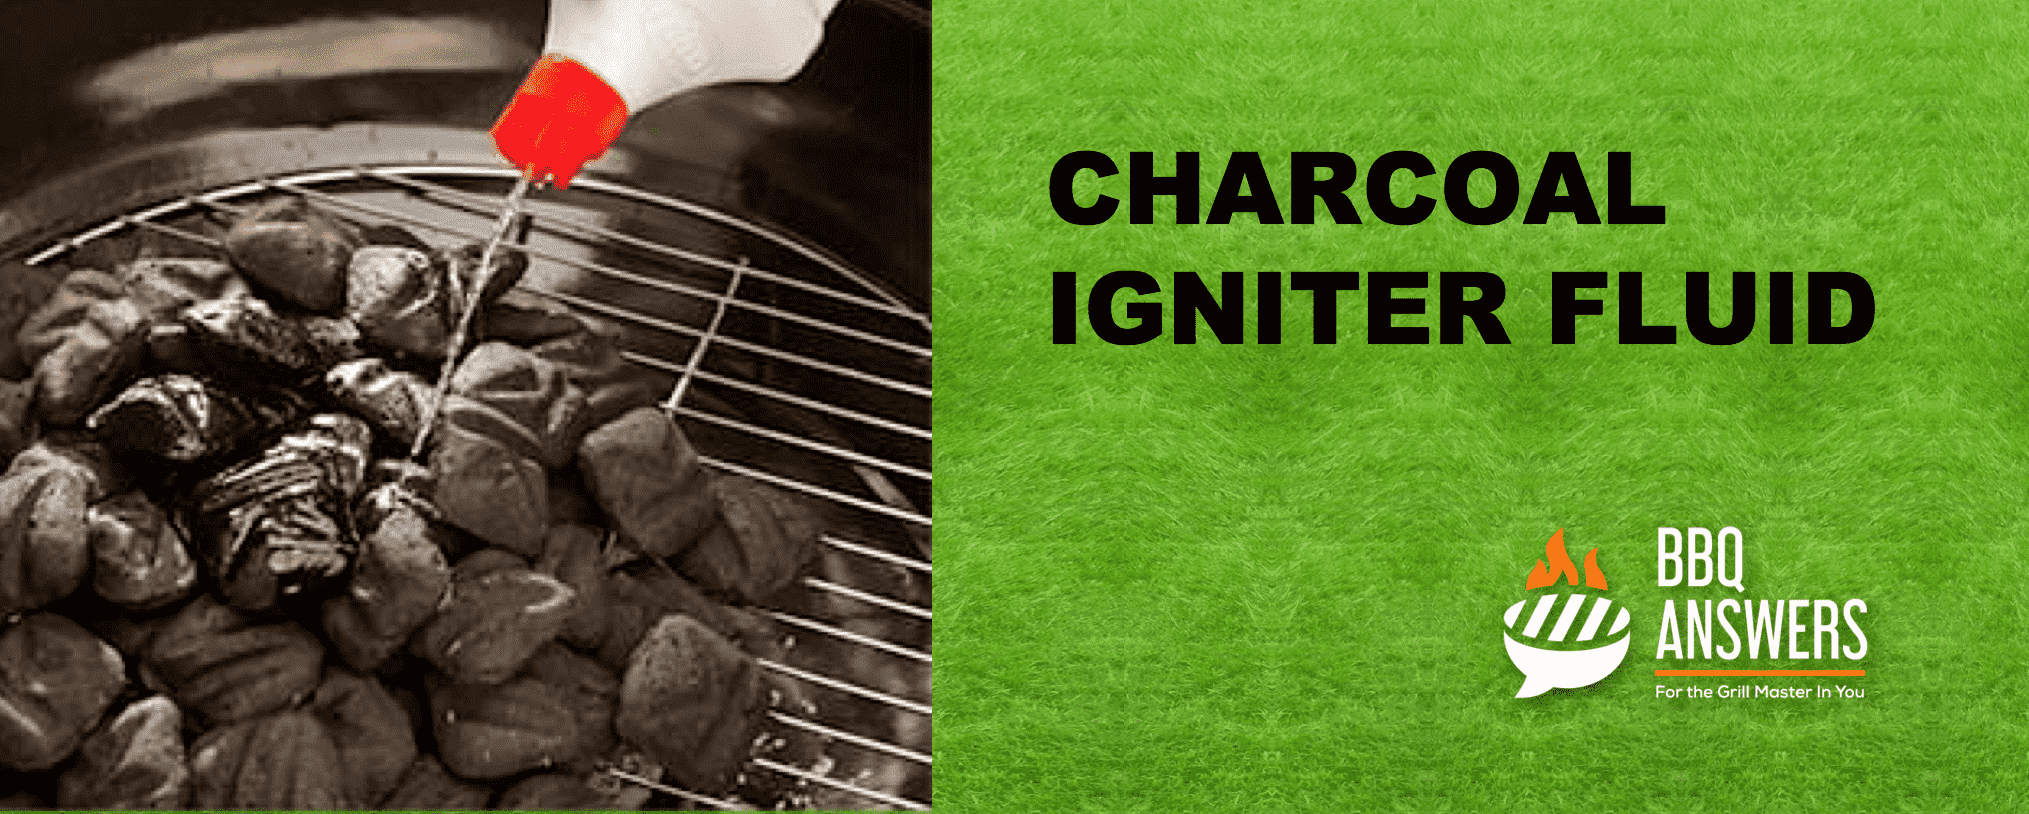
Lighter fluid, also called ‘Charcoal igniter Fluid,’ is a combustible fluid used to quicken charcoal ignition in barbecue grills. It could be either petroleum-based or alcohol-based.
To start a fire using lighter fluid, simply soak the charcoal in it for a couple of minutes, and they are ready to be fired up. You can also get briquettes that are already infused with lighter fluid.
Technically, lighter fluids can be used with both lump charcoal and charcoal briquettes, but Lump Charcoal users avoid lighter fluids because they contain unnatural additives. Even people who use charcoal briquettes have begun avoiding lighter fluid since it sometimes produces an unpleasant flavor, is not safe to consume, and also poses a fire safety risk.
However, lighter fluids do have their place in grilling. If you haven’t stored your charcoal in a cool and dry place, they will readily absorb moisture. This damp charcoal is difficult to light, and using lighter fluid may be your only option for starting the fire.
R – Rearrange the Charcoal
Once you have ignited the charcoal fire, it is important to arrange the charcoal depending on the results you are trying to achieve. The arrangement of the charcoal helps you manage the heat distribution and the duration of the fire.
Recommended Tools:
When rearranging the charcoal, you will need a trusty pair of BBQ tongs. Here’s a list of the best BBQ grill handling equipment on the market.
Here’s how you can arrange the charcoal on your grill:
Two-Zone Charcoal Arrangement
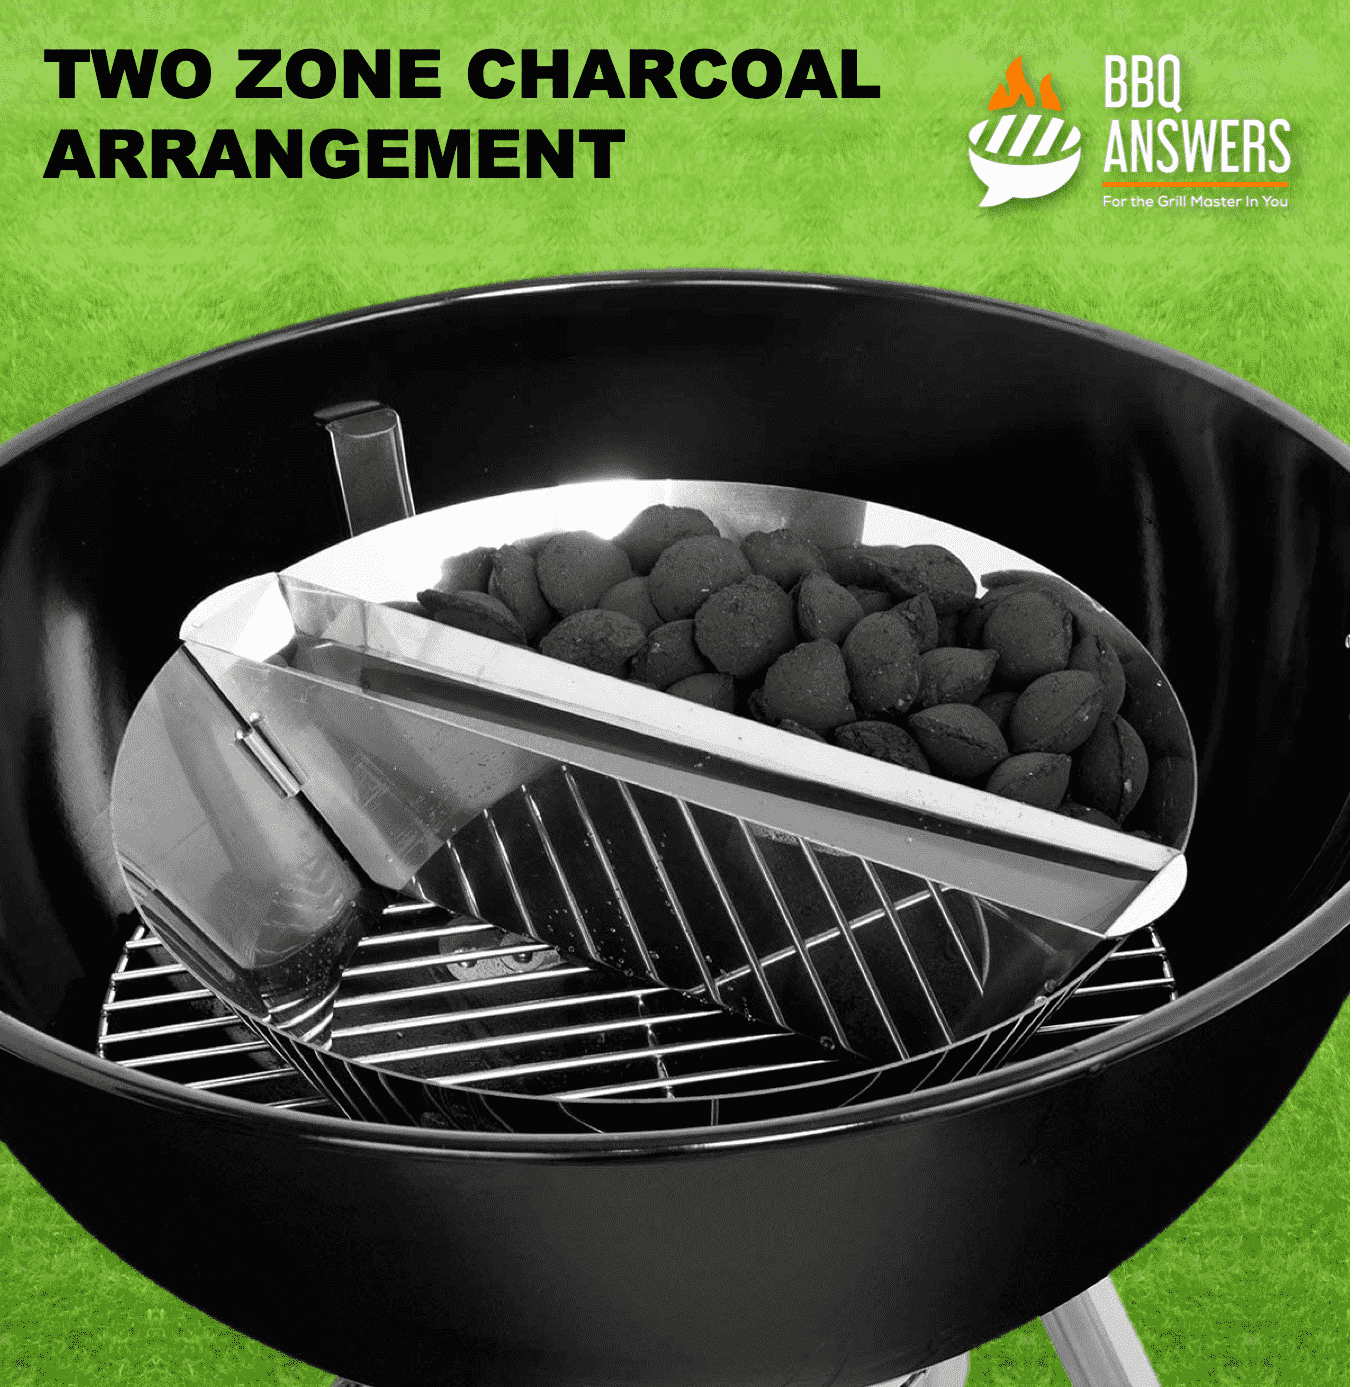
This is the most popular way to arrange the charcoal. The coal is piled on one side of the fire grate while leaving the other side bare. This results in a hotter zone suitable for searing the meat, and a cooler area, ideal for indirect cooking.
Generally, people first sear the meat when the flame is hot since this results in a good crust. Then the meat is moved over to the cooler side of the grill for indirect cooking.
The disadvantage of the two-zone charcoal arrangement is that one end of the meat gets cooked more than the other when using larger pieces of meat. This problem is solved with the Three-Zone Charcoal Arrangement.
Three-Zone Charcoal Arrangement
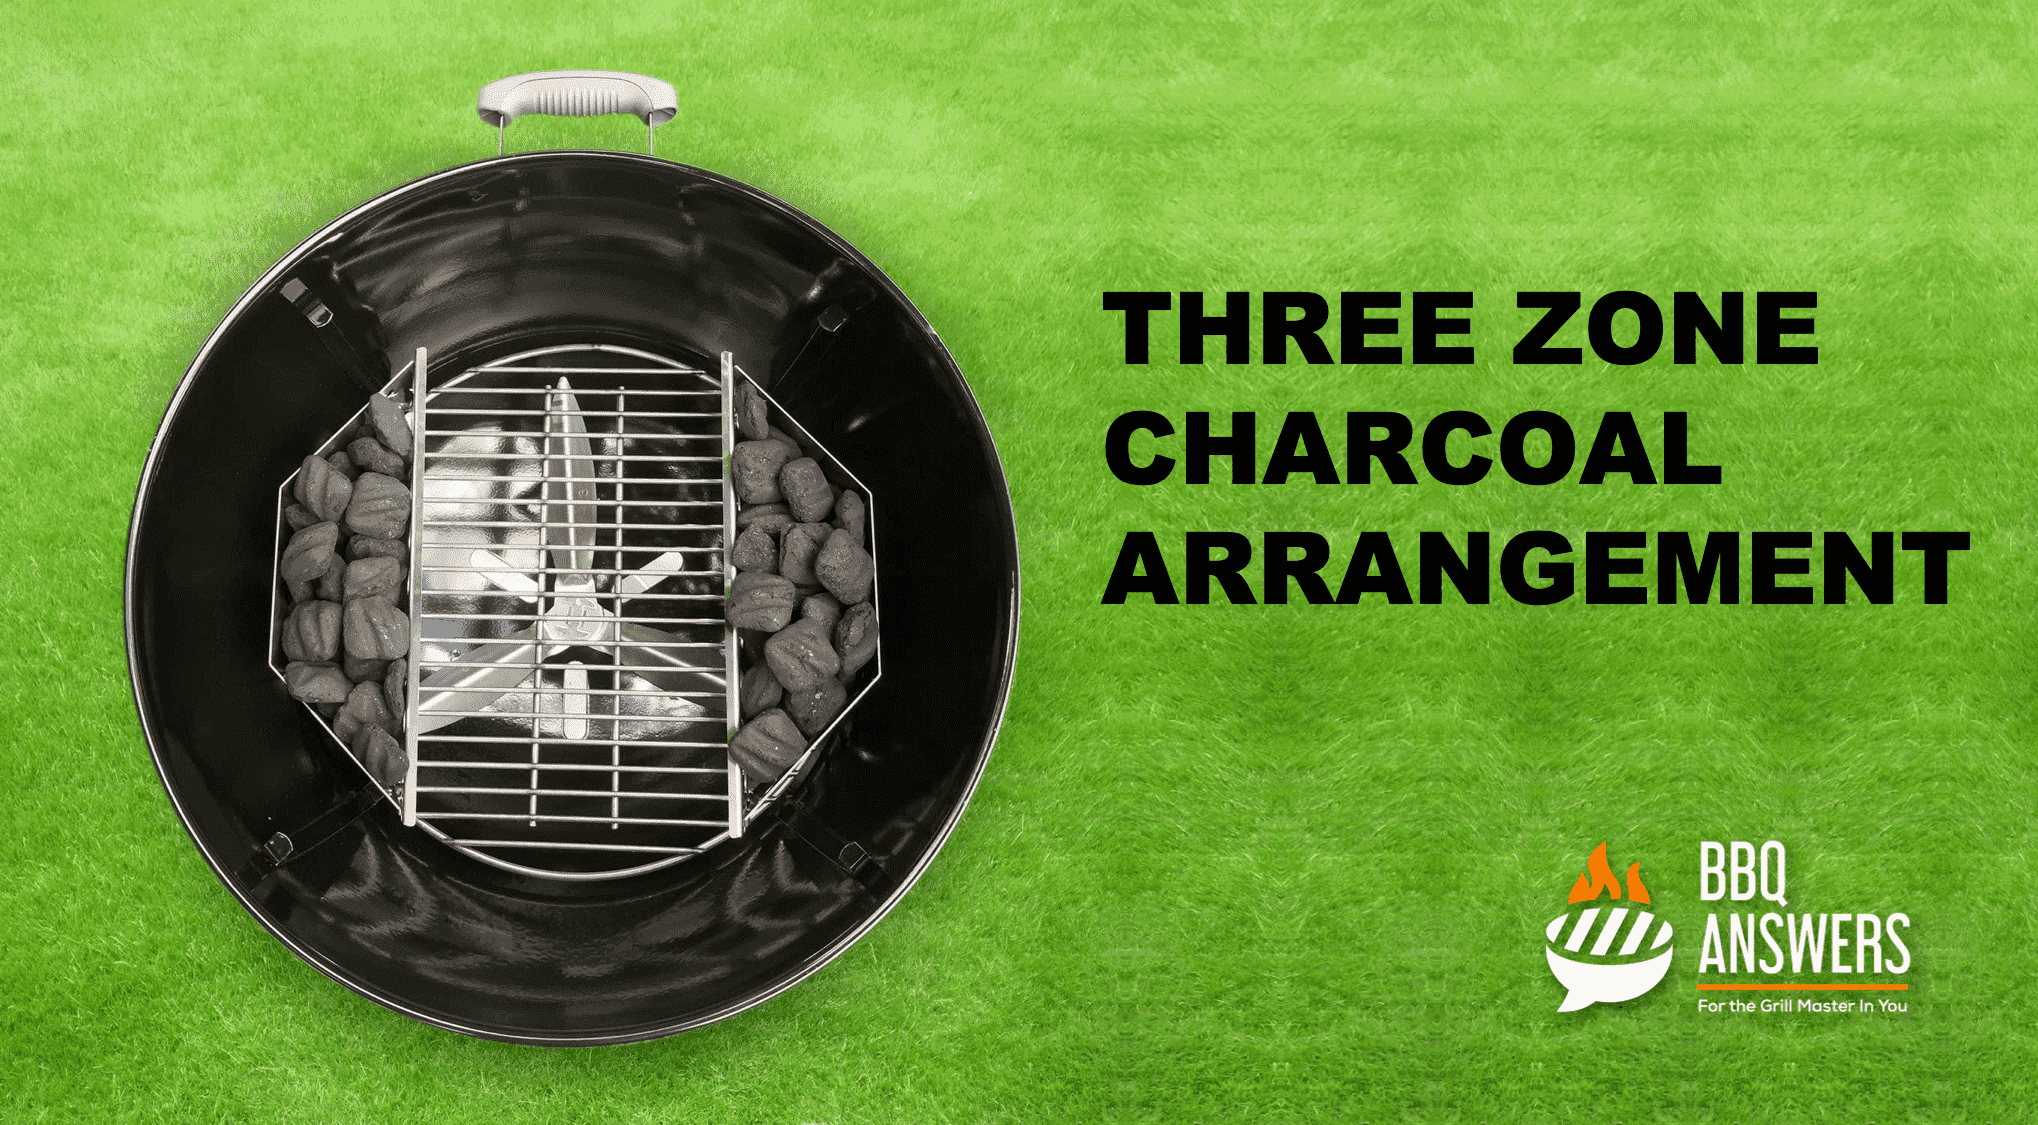
You can build a three-zone split fire by dividing the charcoal into two parts and placing them on both sides of the grill while leaving the middle empty. This will give you even heat from both sides that will result in a uniform cook.
A Three-Zone Charcoal Arrangement doesn’t burn as hot as a Two-Zone arrangement, so you may want to alternate between the two arrangements to get the best of both worlds.
Circular Charcoal Arrangement (Snake Method)
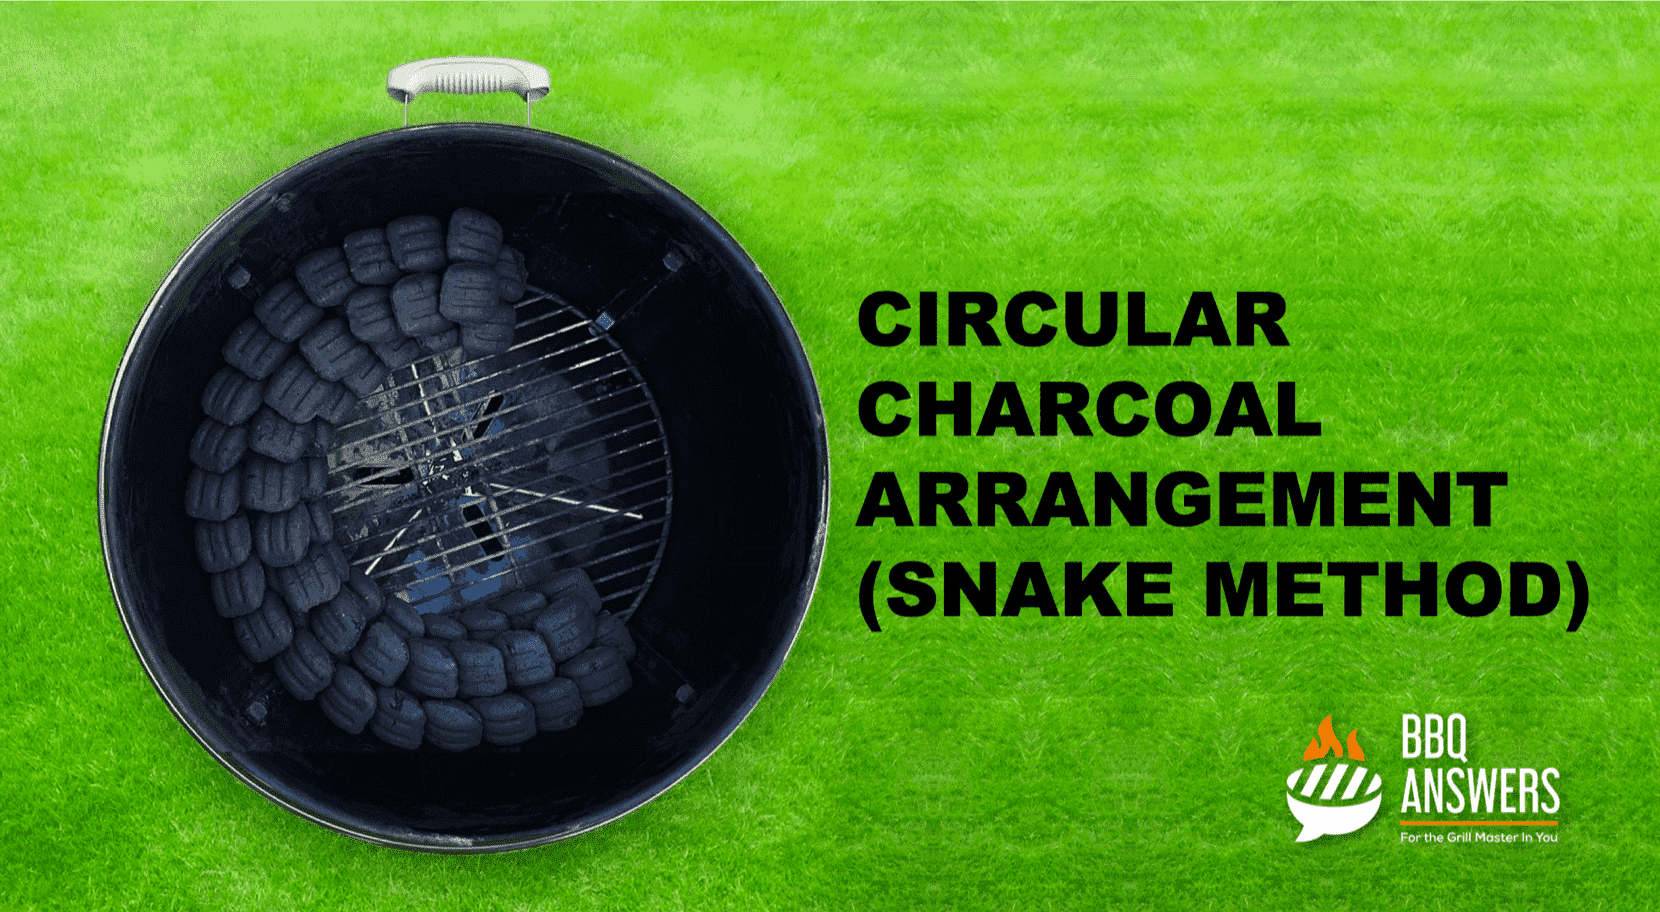
The circular charcoal arrangement is best for slow-cooking food. The charcoal is arranged in a circular/ semi-circular formation along the grill’s side, and it is lit at one point. This fire slowly spreads along the length of the charcoal, giving you a longer-lasting fire.
Pitmaster Tip
If you want to increase the intensity of heat, you can simultaneously stack multiple charcoal rows and/or light the charcoal in more than one location.
E – Establish Airflow
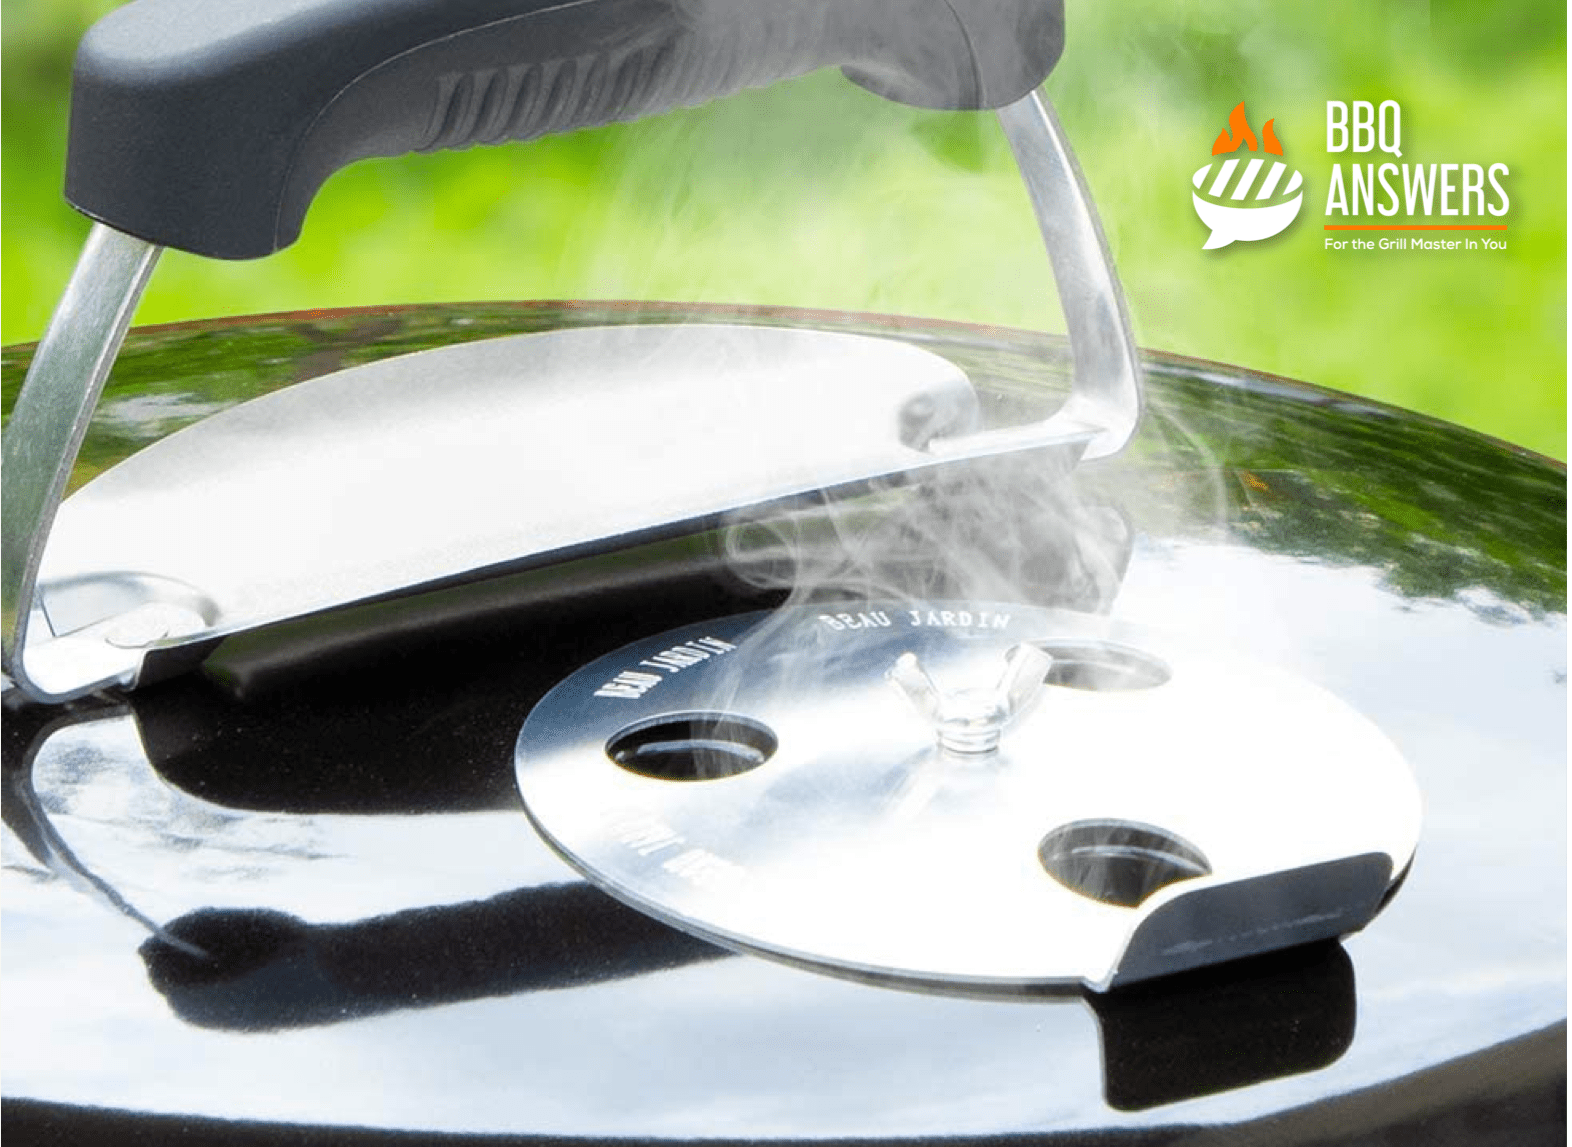
A steady flow of oxygen is required to burn charcoal. When the oxygen levels are cut off, the fire’s intensity reduces. When air is supplied to the flame, the intensity of the flame increases.
Adjusting the Grill/Smoker Vents
The oxygen flow is controlled by vents/dampers on the top and bottom on the grill/smoker. When you have finished rearranging the charcoal, keep both the vents partially open. This gives you the flexibility to make finer adjustments later.
You can vary either of the vents to control the temperature but avoid using both simultaneously. The vent at the bottom of the grill/smoker controls the air supply, and the flame increases and decreases as you open and close these dampers. The vent at the top of the grill/smoker regulates the exhaust air. When it is fully open, the exhaust gasses can escape and make room for more fresh air, but the exhaust gases envelop and douse the flame when it is closed.
Pitmaster Tip
The best way to adjust airflow is by using the lower vents for primary temperature adjustments. Once you are within 10-20 degrees of your desired temperature, use the upper vents. This is because the upper vents generally give you a quicker response for small adjustments.
Deciding the Relative Position of the Vent and Charcoal
Does the relative position of the coal and damper have any effect on the BBQ grill temperature? It absolutely does! The closer the coal is to the exit damper/ grill chimney, the quicker the heat will escape the grill. This will not let your grill reach higher temperatures.
As a rule of thumb, always place your grill exhaust vents away from the coal. This will help you make the most out of your charcoal by not wasting the heat that it produces.
S – Sustain Cooking Temperatures
Once you’ve got that fire going, you are faced with the task of keeping it nice and steady. Whether you’re grilling or smoking, you will need to hit that temperature spot on for good results. Here are a few ways you can do that:
Invest In A Good Cooking Thermometer
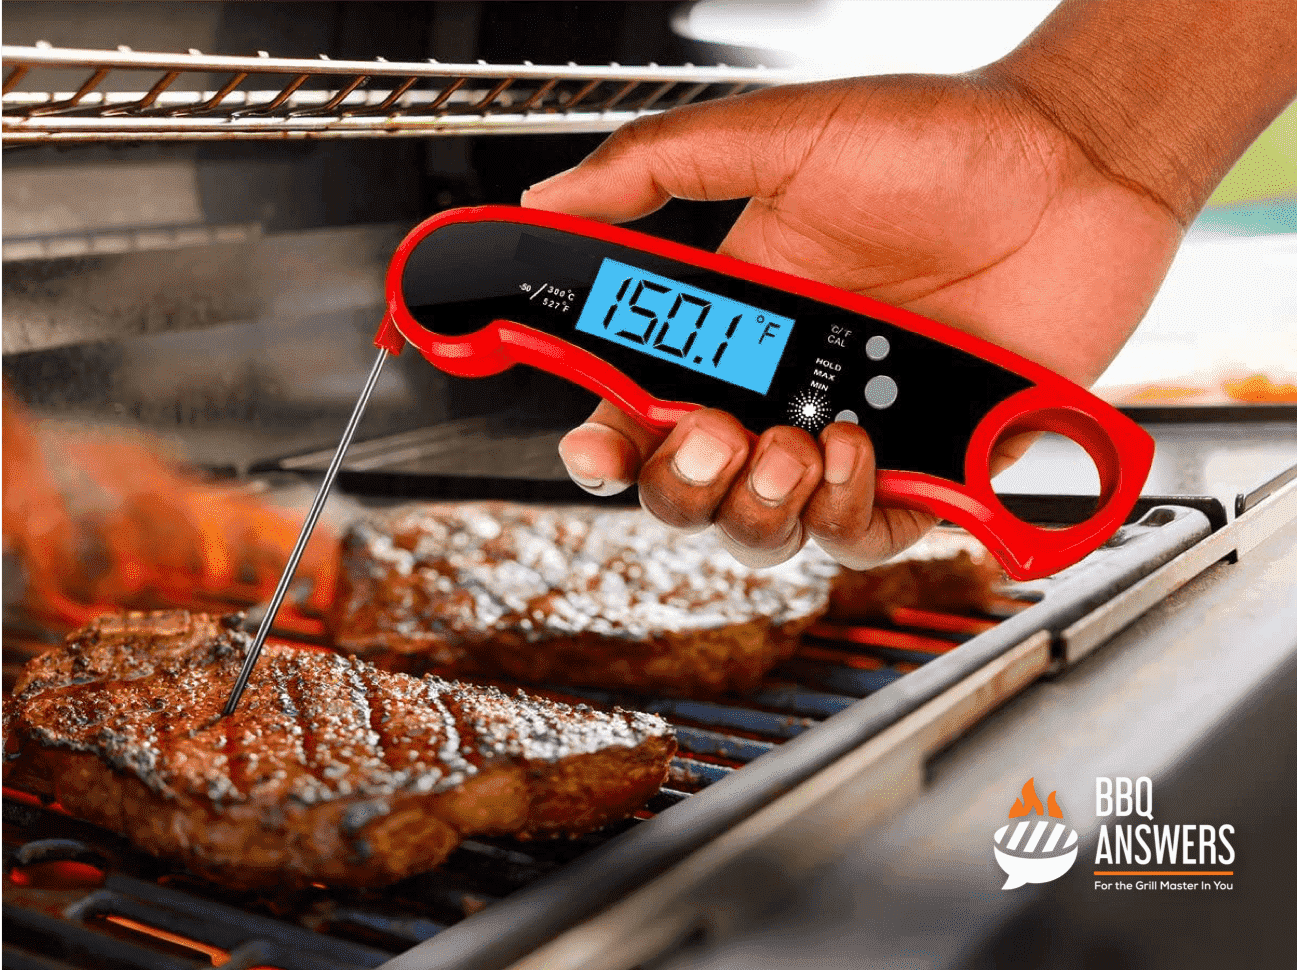
When you’re cooking, it’s natural to want to check the food and ensure that you are not burning it. But opening the lid too often causes the heat to escape from the cooker. The best way to avoid burning your food while maintaining the right grilling temperatures is by using a cooking thermometer.
While thermometers are typically used to measure food temperatures, they can also measure the temperature at the grilling surface.
Here’s how to grill with a cooking thermometer:
- Look up the exact temperature required to cook your food.
- Let your BBQ cooker come up to the right temperature for grilling [350-450°F (177- 233°C)] or Smoking [285-400°F (140℃ -205°C)].
- Insert your cooking thermometer in the food while placing it in the BBQ cooker.
- Only open the grill lid when you want to flip the food.
Digital cooking thermometers are better than analog thermometers because they help you track the cooking temperature over the entire cook duration. Some digital thermometers can alert you when the temperature crosses certain thresholds. They can also connect with your mobile device so that you don’t have to stay chained to the BBQ smoker.
Looking to Buy a Cooking Thermometer?
Here are the best cooking thermometers you can buy worldwide.
How to Remedy Unstable Smoking Temperatures?
If you have adjusted the dampers in your smoker and the temperature doesn’t stabilize in the next few minutes, you may have an equipment problem.
Quick and Easy Remedy
Water pans not only help your smoker maintain a steady temperature, but they also prevent your meat from drying out by adding moisture to the smoker.
If you don’t already use a water pan, this is the perfect time to start. If you don’t have a water pan, you could substitute it with a tin foil container filled with water.
When smoking, you should place the water pan directly above the coal. While grilling, you can set the water pan to the side when grilling at higher temperatures.
Permanent Solution
The water pan remedy may be a quick and easy solution to the problem, but it doesn’t deal with the problem’s root. Fluctuating temperatures are prevalent in cheaper grills and caused because of the following reasons:
- Thin Grill Body Material – This issue occurs because the manufacturers tend to skimp out on the grill body material thickness. This results in quick heat loss to the surroundings.
If you already own such a grill, you can remedy this problem by cooking in an area shielded from moving air. This reduces heat loss to the surrounding and helps you maintain a steady grilling temperature.
Remedy: If you haven’t bought a grill yet, you could avoid this problem by checking our Buyers’ Guide for Charcoal Grills. - Weak Seals in Grill Body – This issue occurs when there are holes or worn/ non-existent seals in a grill/smoker.
To find holes in the smoker, you will need to place the smoker in a dark room and place a powerful, portable light inside the smoker when it is not in use. Once you shut the smoker’s lid, you can be sure that you have holes in the grill if the light leaks from the grill body.
Remedy: If your grill is within its warranty period, you should have it replaced. If not, you may have to weld the holes in the permanent joints to close them.
If the light leads from a non-permanent joint, you have a bad seal in your smoker. I recommend refitting your grill/smoker with a new gasket. Our friends over at BBQ Smoker Supply are sure to have all you need for this fix.
Frequently Asked Questions
How Do You Keep Charcoal Burning?
To keep the charcoal burning, make sure that it gets enough oxygen. This can be cone by ensuring good airflow and clearing the excessive ash collected in the firebox/ fire grate.
How Long Do You Let Charcoal Burn Before Cooking?
When the charcoal heats up and has a thin white layer of ash on its surface, it is ready for cooking. This generally takes 20-30 minutes, depending on the quality of charcoal and external weather conditions.
What Is The Best Way To Start A Charcoal Fire?
The most cost-effective way to start a charcoal fire is using the paper wick method, but it takes longer than other methods. The quickest way to light a fire is using lighter fluid, but it may result in a residual fuel taste in your food. The best way to start a charcoal fire is by using a chimney starter because it is relatively quick and doesn’t leave a residual fuel flavor on your food.
How Long Will A Charcoal Grill Stay Hot?
The duration for a charcoal grill to stay hot depends on the amount of coal used, the charcoal arrangement, and the amount of oxygen supplied for combustion. A charcoal briquette can burn for 1 to 2 hours, and a charcoal lump fire can burn for 45 to 60 minutes.
Can You Use Cooking Oil To Light Charcoal?
Yes, you can use vegetable oil to light charcoal. It is a key ingredient in the paper wick method of charcoal ignition. You can also use cooking oil with a chimney starter. Just pour some cooking oil over the coals and light the crumpled newspaper beneath it to start the fire.
How Do You Start A Charcoal Fire Without Lighter Fluid?
In the absence of lighter fluid, you could start a charcoal fire by simply rolling up a paper towel, dipping one of its ends in vegetable oil, and setting it on fire in between a heap of coals. You can also use a chimney starter if you have one.
Is It OK To Add Charcoal While Cooking?
Yes, it is absolutely fine to add more charcoal while cooking, but don’t expect it to instantly increase your flame. You will have to wait around 15 minutes before you notice a difference. Adding charcoal increases the duration of the fire.
How Much Charcoal Do I Use?
Charcoal used for grilling ranges from 5-10 briquettes for low heat to 80-100 briquettes for high heat. The more charcoal you add, the hotter the grill will become. You must select the exact amount based on the quantity of food, type of food, and cooking method planned.
Looking for High-Quality Lump Charcoal?
Here are the best Lump Charcoal you can buy in the USA, Australia, Canada, and the UK.
Concluding Thoughts
You now know more about managing a charcoal fire than most people. So don’t be intimidated by a charcoal grill – mastering it will be easier than you think!
Once you’re done feeding your friends and family with grilled food that is just right, you may want to rise to the next level of BBQ mastery – BBQ Smoking.
If you like what you just read or would like to know more, don’t hesitate to drop me a comment.
For answers to all your questions on barbecuing, subscribe to BBQanswers.com by clicking the bell icon on the page’s bottom-left corner.


